Introduction
Kubernetes is a powerful open-source platform designed to automate deploying, scaling, and operating application containers. When it comes to running Kubernetes on a Raspberry Pi, there are several lightweight distributions available, with K3s being a popular choice. K3s is specifically designed for resource-constrained environments like IoT devices and edge computing, making it an excellent fit for Raspberry Pi. It offers a simplified installation process, reduced resource requirements, and seamless integration with IoT hardware. There are numerous tutorials and guides available on the internet, here is my detailed approach.
What am I trying to achieve?
This is a multi-part series as I build out my home lab. Building it from scratch again and documenting the process will help me create reference documentation and share my knowledge to the world. Another advantage of continually rebuilding it from bottom up again is that I will find opportunities to automate manual tasks such that future rebuilds will be much faster.
As I had mentioned previously, there are numerous resources online that may already cover this subject but conclude after the cluster is configured. We will go beyond that and much more, so stay tuned!
Hardware and Cost
Everyone has their own budget and certainly there will be trade-offs in the hardware you select but for my home lab this is what I used:
| Item | Quantity | Price |
|---|---|---|
| Raspberry Pi 4 8GB Model B | 4 | 75.00 |
| Raspberry Pi PoE+ HAT | 4 | 20.00 |
| SanDisk 32GB Ultra Micro Memory Card | 4 | 7.42 |
| Cat6 Snagless Ethernet Patch Cables (10 Pack) | 1 | 12.99 |
| Ubiquiti Unifi Switch Lite 8 PoE | 1 | 109.00 |
| Ubiquiti Unifi Express | 1 | 149.00 |
| Samsung Fit Plus 256GB USB Hard Drive | 3 | 25.00 |
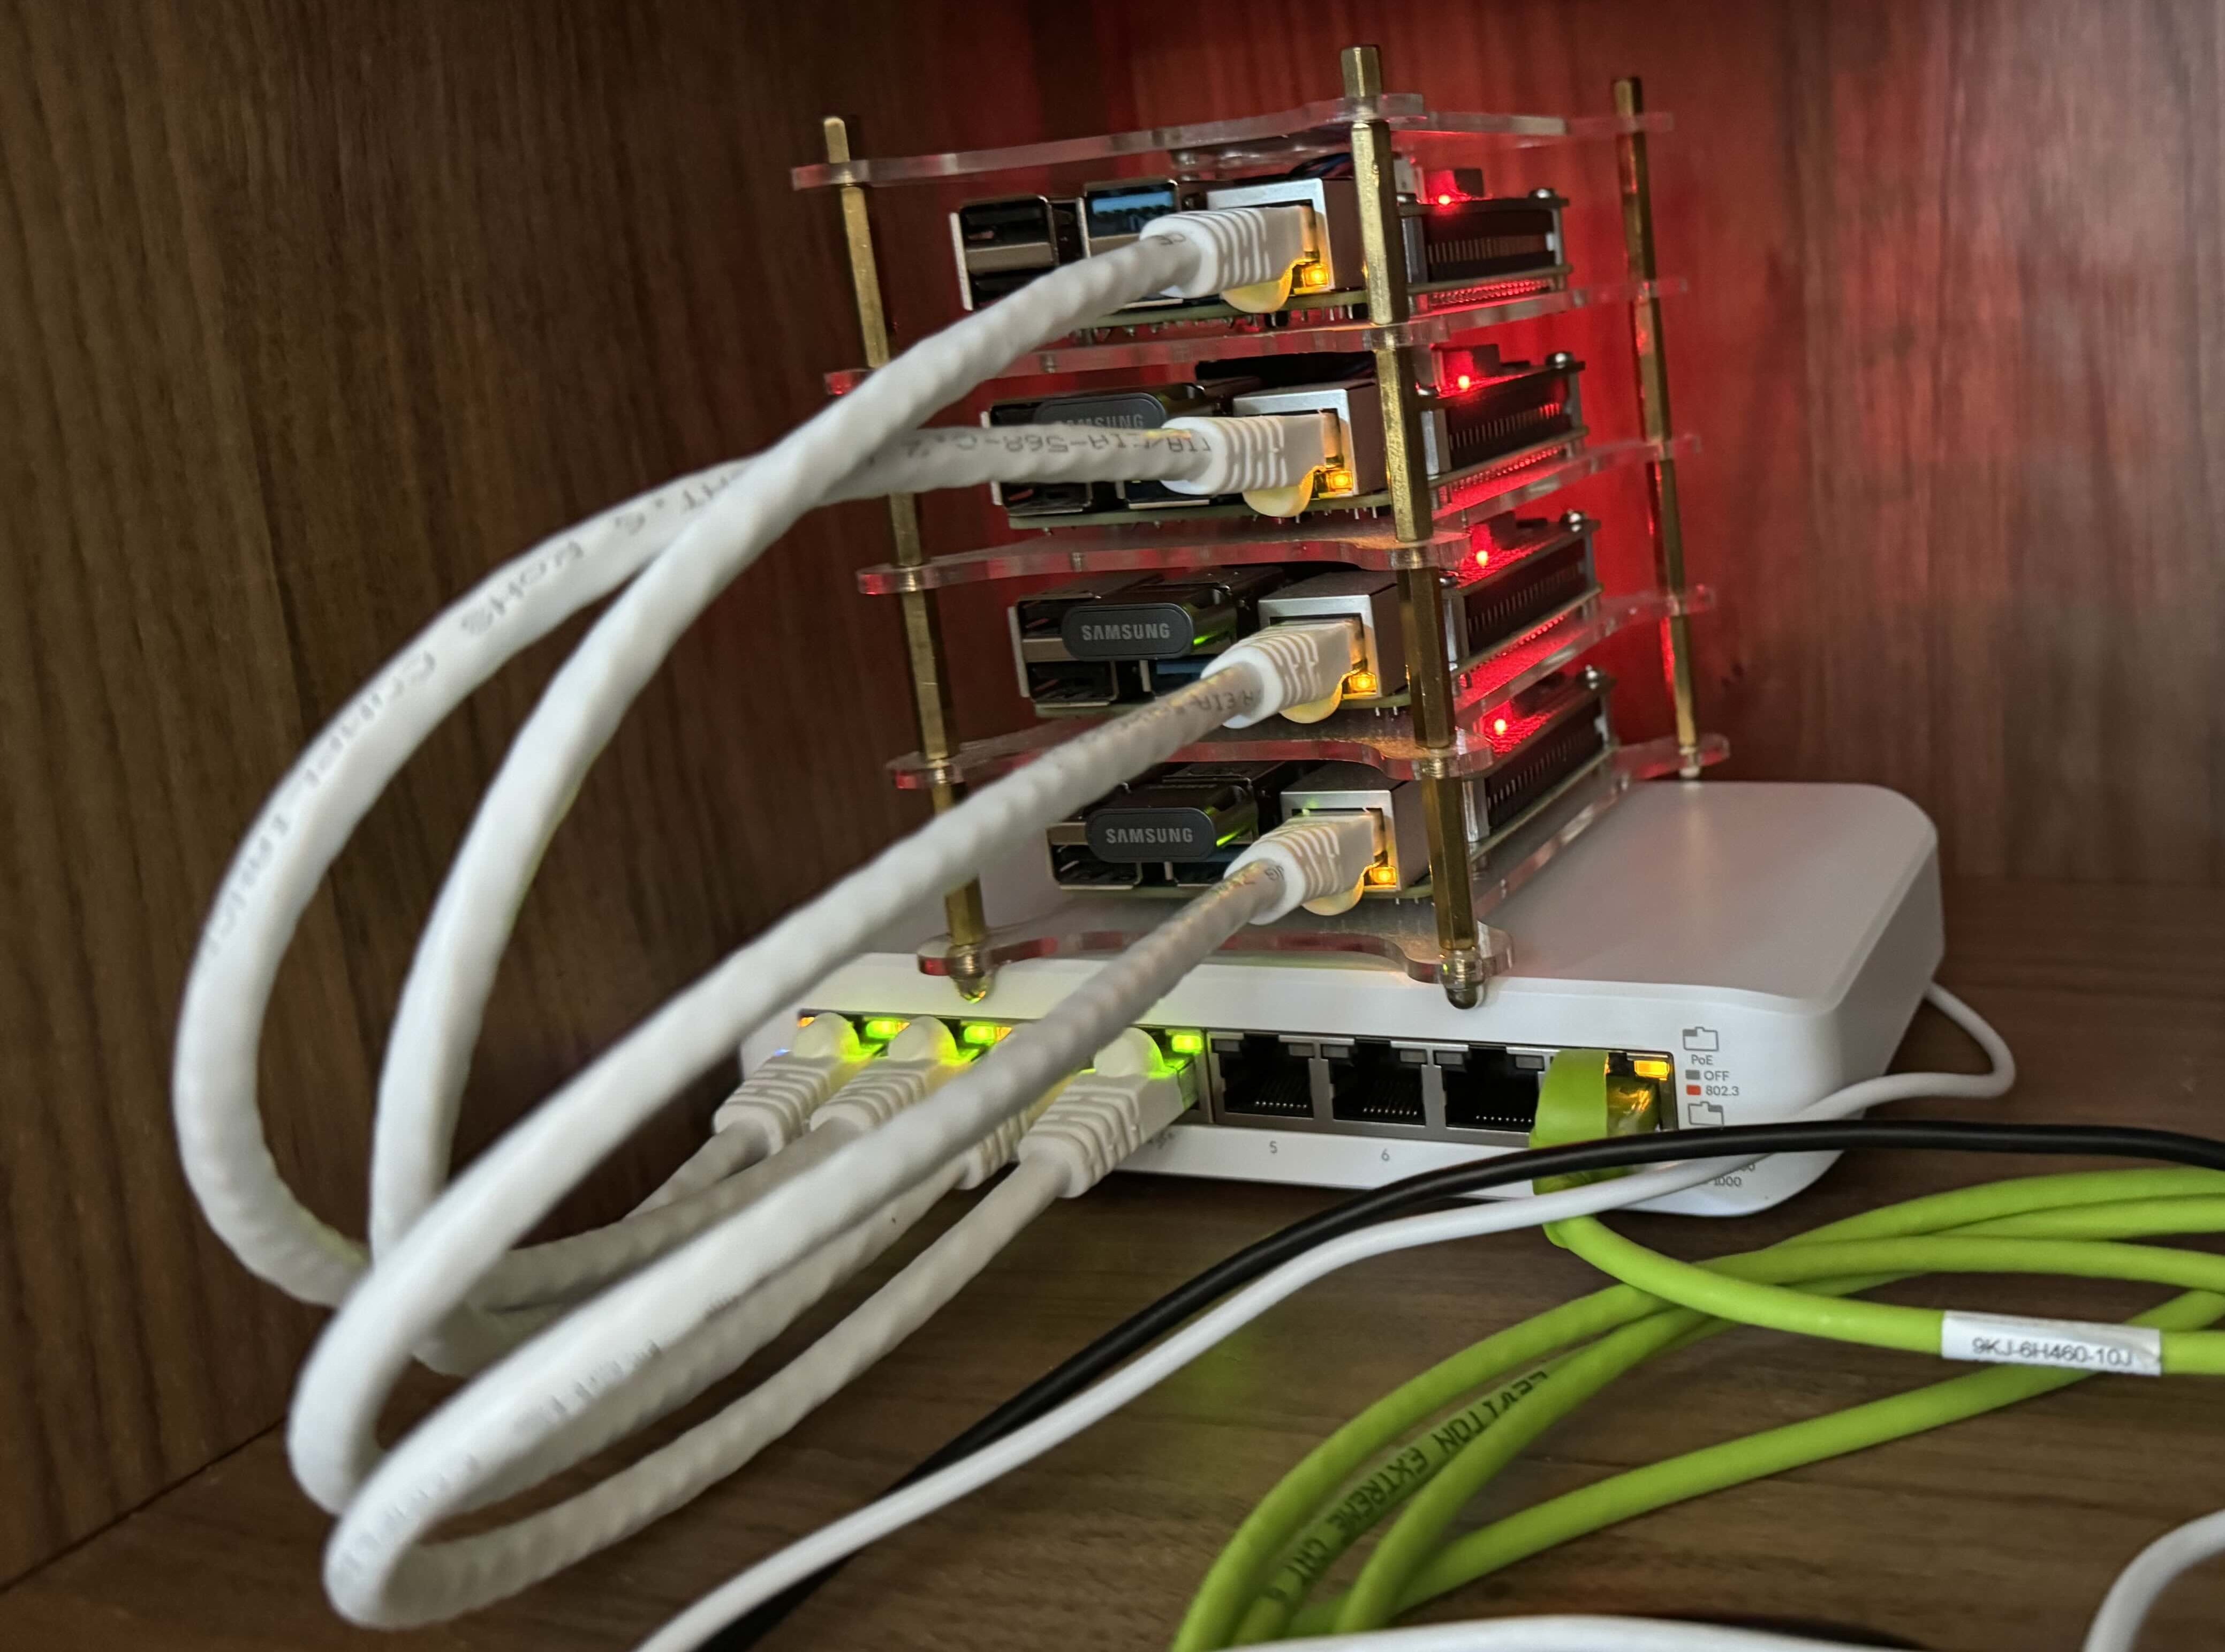
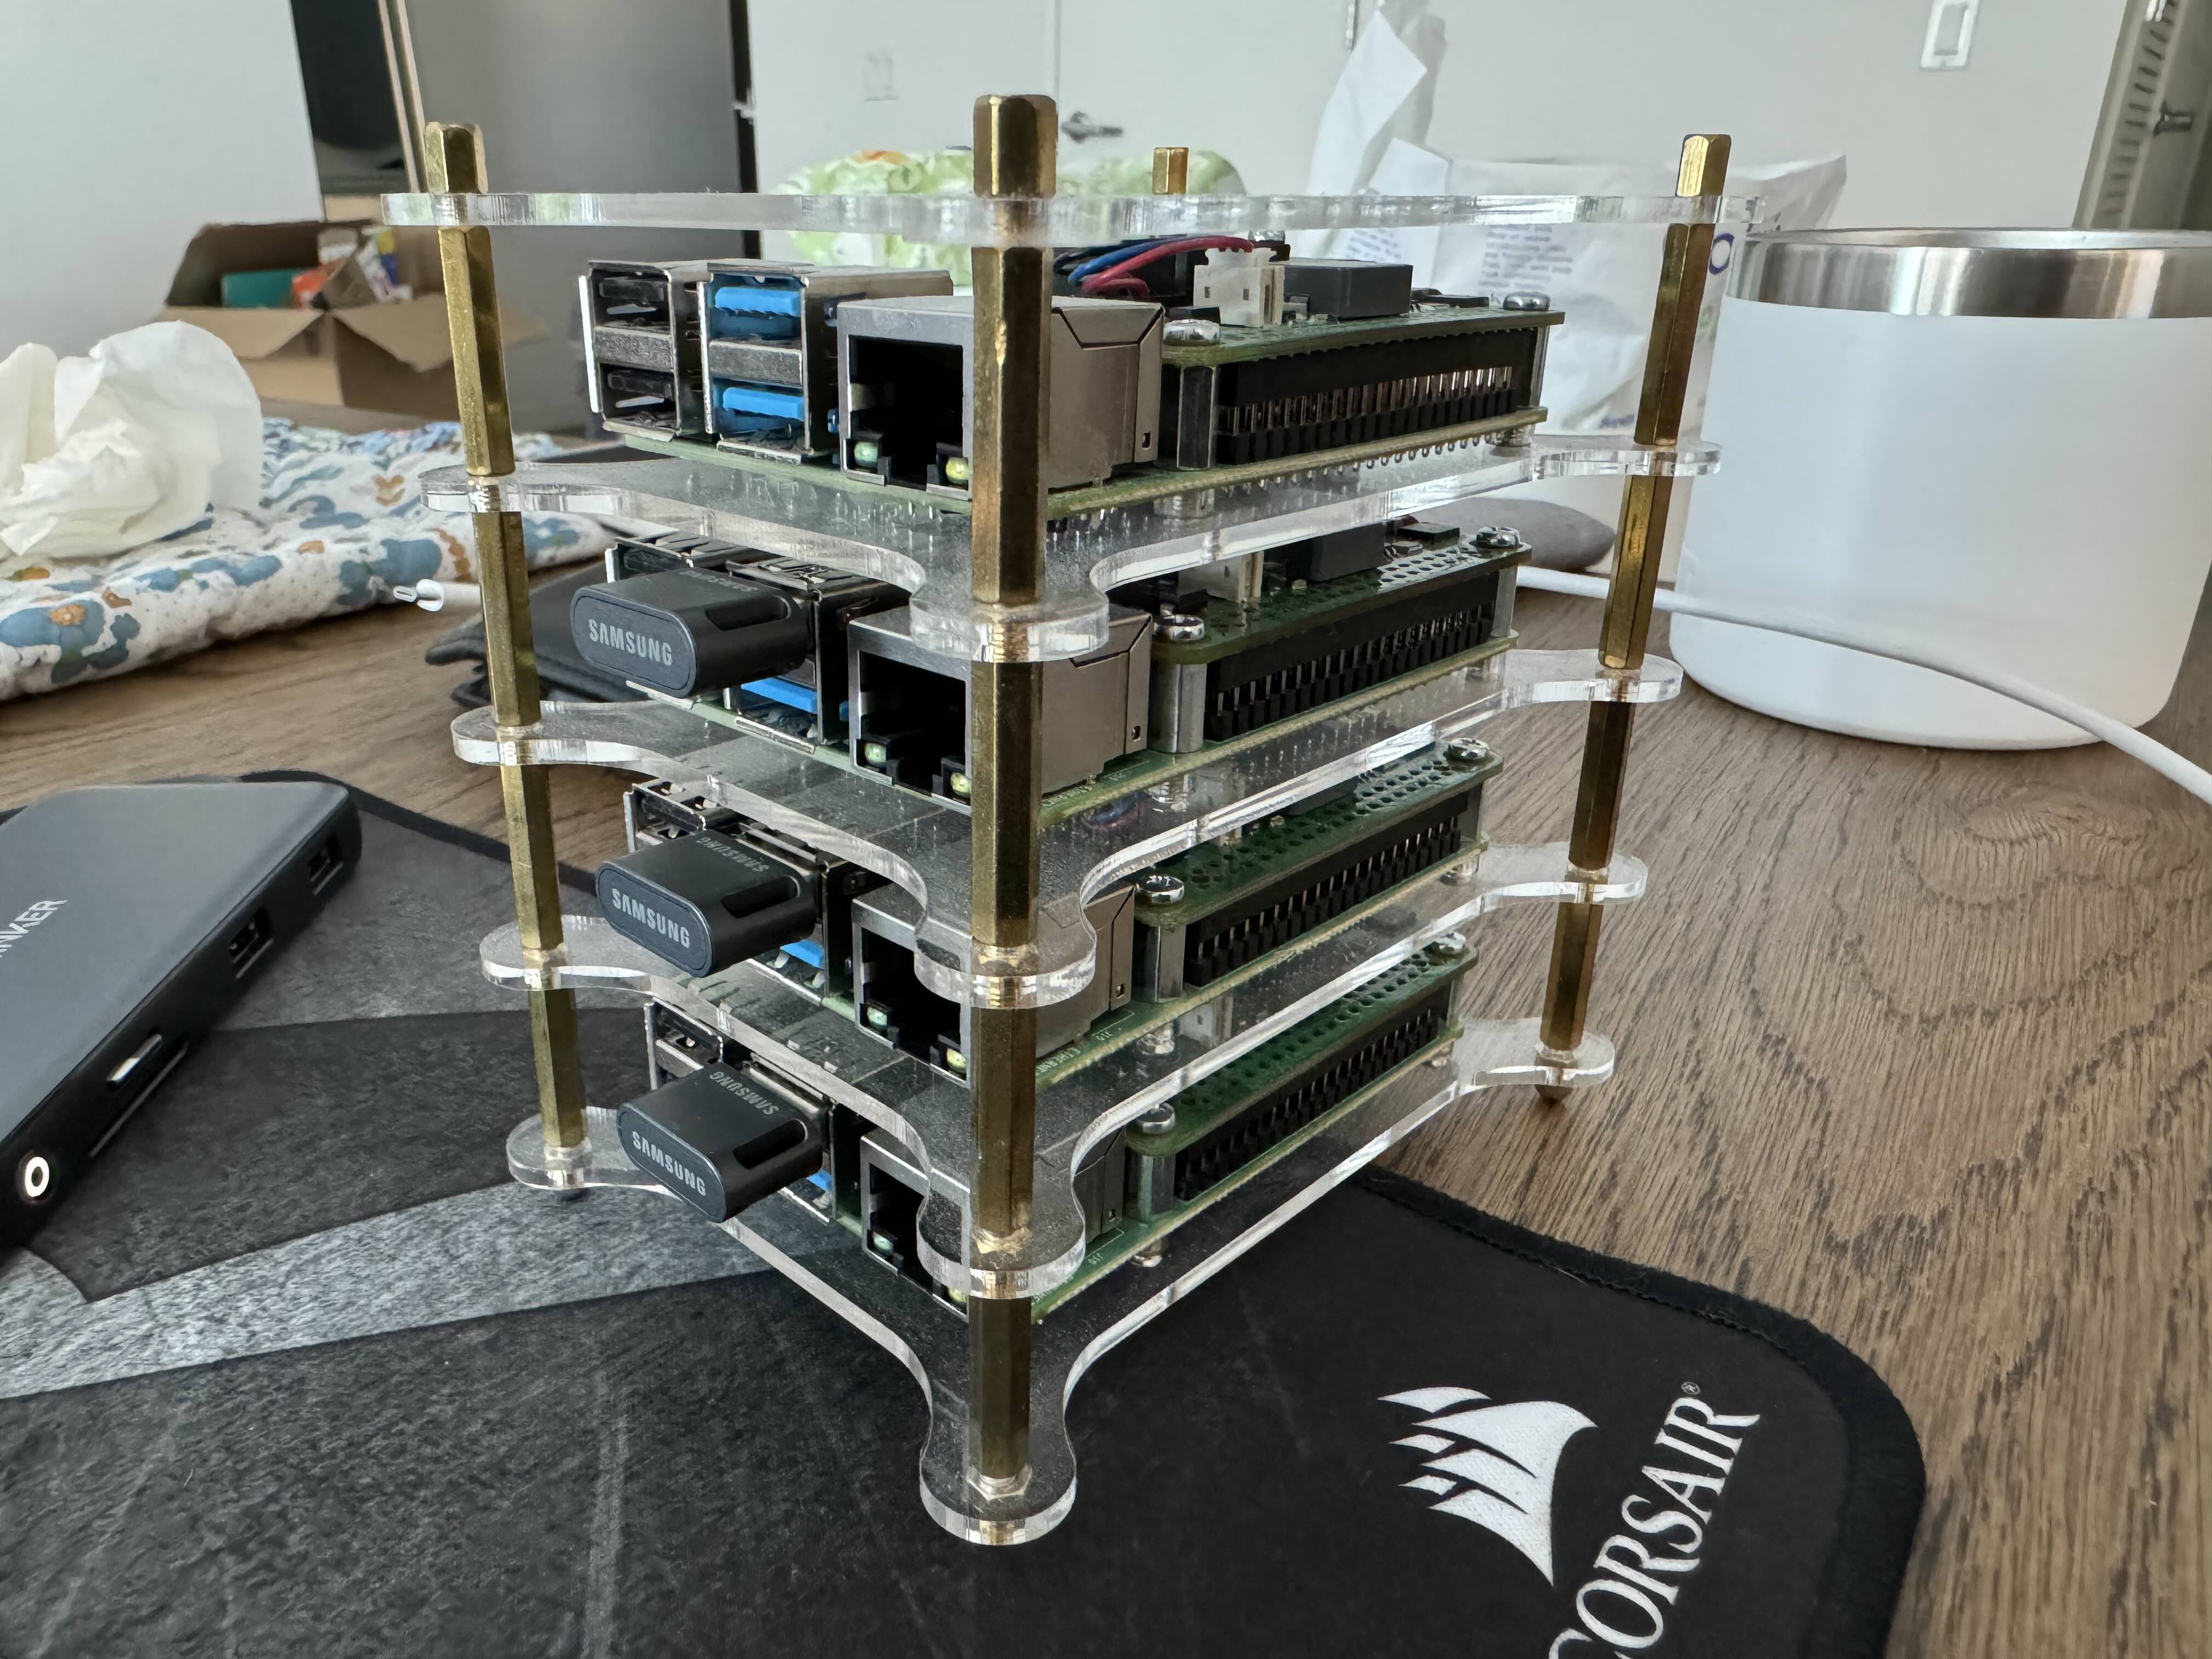
| Yahboom Raspberry Pi Cluster Case | 1 | 21.00 |
| Total Cost | 776.67 |
Hardware Considerations
I thought should share my thoughts and considerations when purchasing the above components…
- At the time of purchase the Raspberry Pi 5 was not released yet - I would have went with that option.
- I purchased the Raspberry Pi’s at the tail end of the pandemic so there was a limit on the number of Raspberry Pi’s you could purchase due to supply constraints.
- I wanted to minimize the number of wires and provide for potential future rack mount possibilities so I decided to use PoE to power the Raspberry Pis.
- I wanted better visibility on my networking so I moved my entire home network to Ubiquiti’s Unifi System.
- I wanted to potentially run stateful workloads on my Kubernetes cluster, hence the Samsung Fit Plus USB Hard Drive’s which we will use for persistent volumes.
- I wanted to 3D print my own cluster case but found a cheap temporary solution in the Yahboom Cluster Case.
Eventually I want to run a highly available control plane but due to the limitations of my PoE switch, costs and current needs will leave that for a future update.
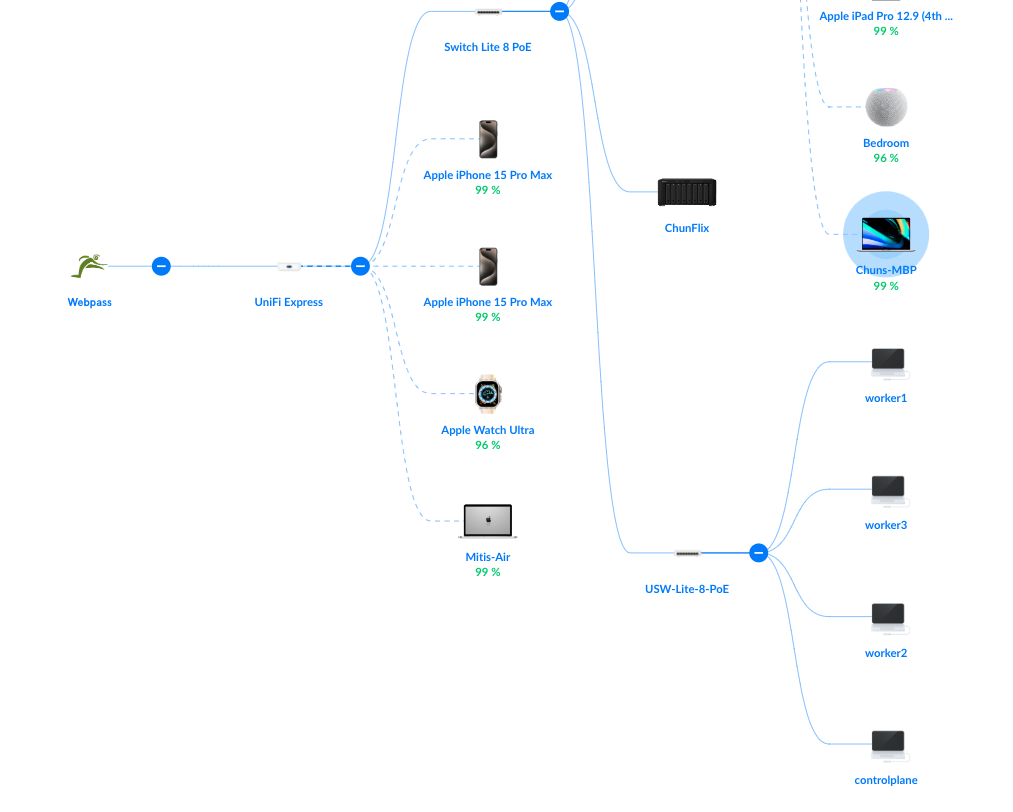
Network Topology
This is an illustration of the network topology for the planned cluster. The nodes and the router talk to each other via the network switch on a wired connection, while the router serves as a gateway to the Internet via Unifi Express hardwired into Google Fibre.
Since the cluster is running on a private network, I have full control over the IP addresses of each node. This allows me to control which IP addresses the nodes will be assigned. There are two approaches to do this:
- DHCP Reservations
- Setting desired IP address in the dhcpd.conf file.
I have chosen to do DHCP reservations. If you decide to just modify your dhcpd.conf file if there are other competing devices on the network that already use that IP address then there will be a conflict. Certainly you can do a combination of the two, if you want to know more about how to modify your dhcpd file Tom’s Hardware has an excellent guide on how to do this.
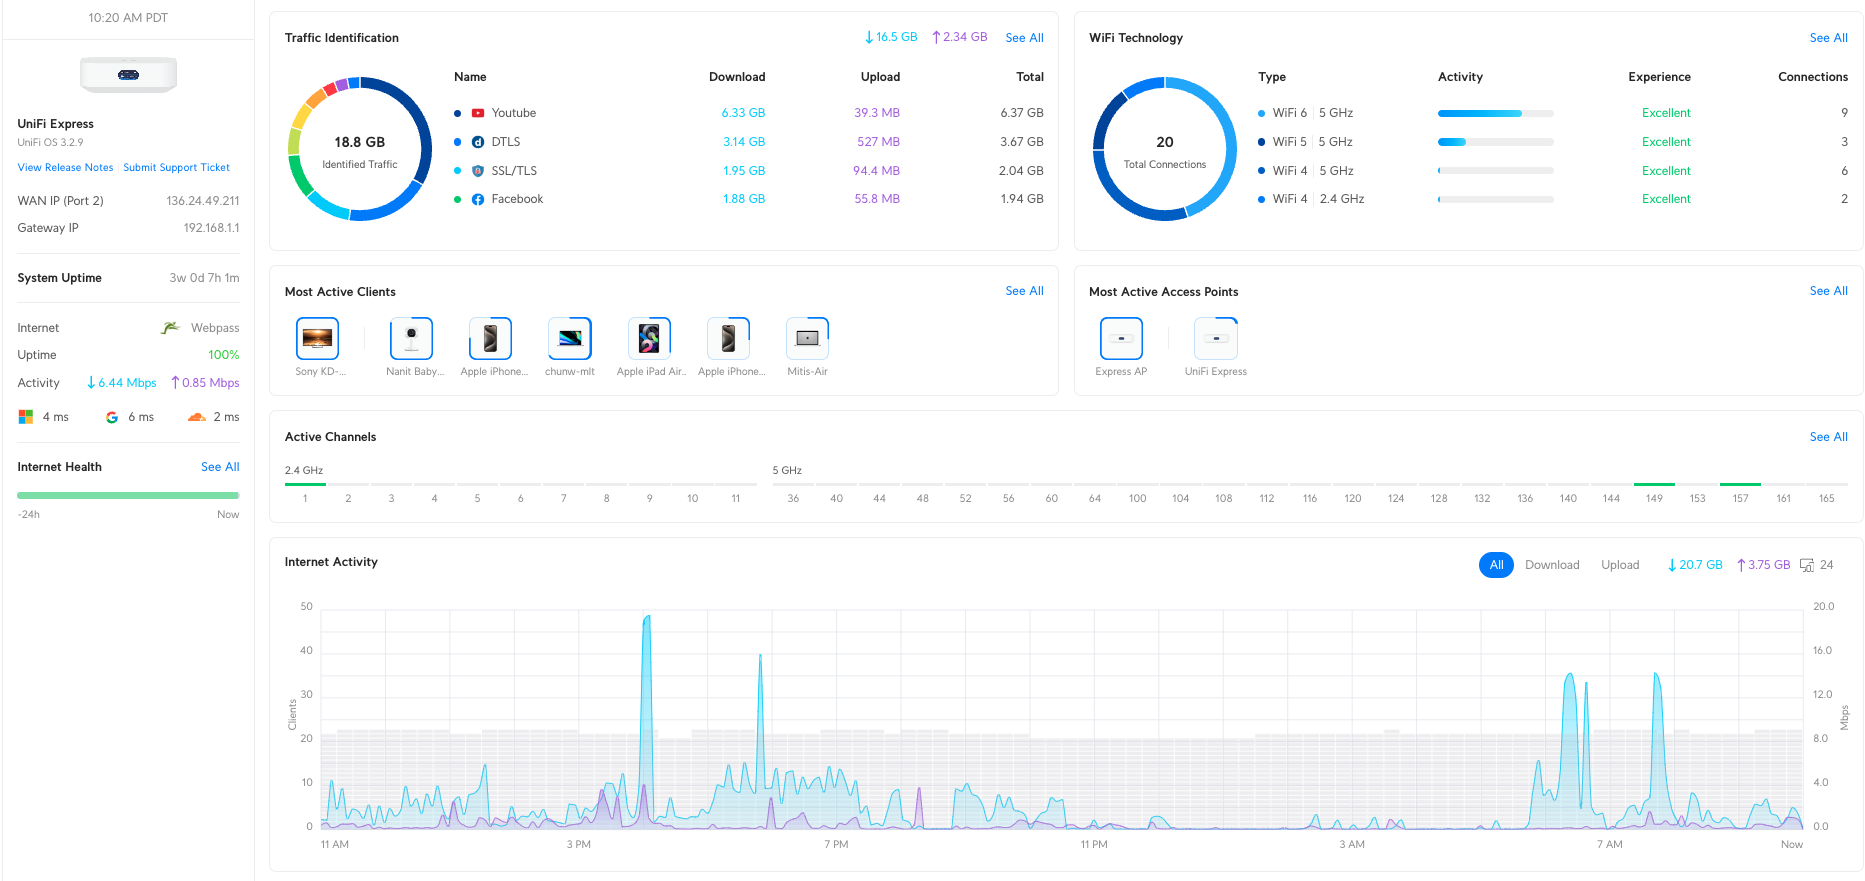
If you haven’t moved over to a Unifi network setup and you are crazy about metrics like I am… do it! I mean, check this out:
Configure Raspberry Pi
It’s time to flash the OS image in each of the Micro SD cards that have been installed on each Raspberry Pi. For this, you will need Raspberry Pi Imager. To keep things simple for this setup, I will be using Raspberry Pi OS Lite 64 bit. The Lite version of Raspberry PI OS does not include a desktop environment, unlike Raspberry PI OS which has the Pixel desktop environment integrated into that image. Additionally could also use Ubuntu Desktop/Server environment which I may use in the future if when I want to experiment with MicroK8s or KubeADM but for this series we are going to be using K3s
Flashing the OS
At the time of writing, I am using Raspberry Pi Imager v1.8.5. ymmv on the UI as this can change.

Since this OS variant does not include a desktop environment, SSH will be my primary method for node installation. While username/password is easier and more convenient to use, I prefer to use SSH Keys as they are generally more secure.
Generating an SSH Key
The following will work on a Macintosh or Linux, for Windows you will need to use a tool like putty.
ssh-keygen -b 2048 -t rsa -C "your_username" -f filename
# Example: ssh-keygen -b 2048 -t rsa -C "jsmith" -f vivaglint-yyyymmdd
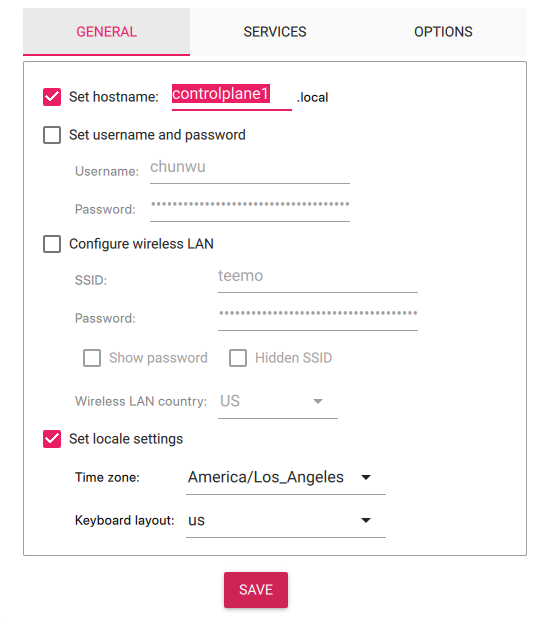
OS Customization
To help simplify our setup process we are going to customize the settings in the Pi OS image that will be written to our disk.
- Set the hostname of the node (mine will be: controlplane1, worker1, worker2, worker3)
- You could set a username and password but I did not as I will configure the node to only allow SSH using a key.
- Set locale settings
And finally we want to take the public key from our key-value pair that we previously generated and set that as the desired method to SSH into our nodes.
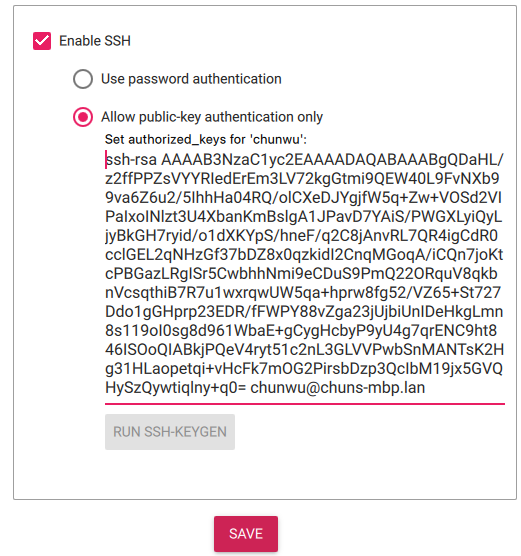
Repeat the above steps for the other Raspberry Pi’s. Once I have all the Raspberry Pi’s imaged… I put together the Yahboom cluster case, attached the Raspberry Pi PoE HAT, add the Samsung Fit Plus drives to the worker nodes only.
You may want to label your nodes with tape or a label maker, the older you get the easier it is to forget what is what.
What’s Next?
In the next step we are going to use Ansible to automate the setup of Kubernetes cluster with K3s and go over in detail the settings I will be using to configure the cluster.